When she left a comment a couple blog posts ago saying she should commission me to make a sink for her basement apartment bathroom in the San Franciscan she's building, I saw my opportunity for a swap! We discussed styles and measurements, then I got to work! I love a challenge, and I super hope that one of the designs I've been playing with will satisfy the look she's trying to achieve.
 |
| Sam's Inspiration Sink with My Doodling |
I wanted to try versions with both round and square sinks. I had a square plastic sink left over from a Reallife kitchen kit, and a round one I'd salvaged from the Barn when I realized I wouldn't have space for the two bathrooms I'd planned. These would make suitable models for the prototypes.

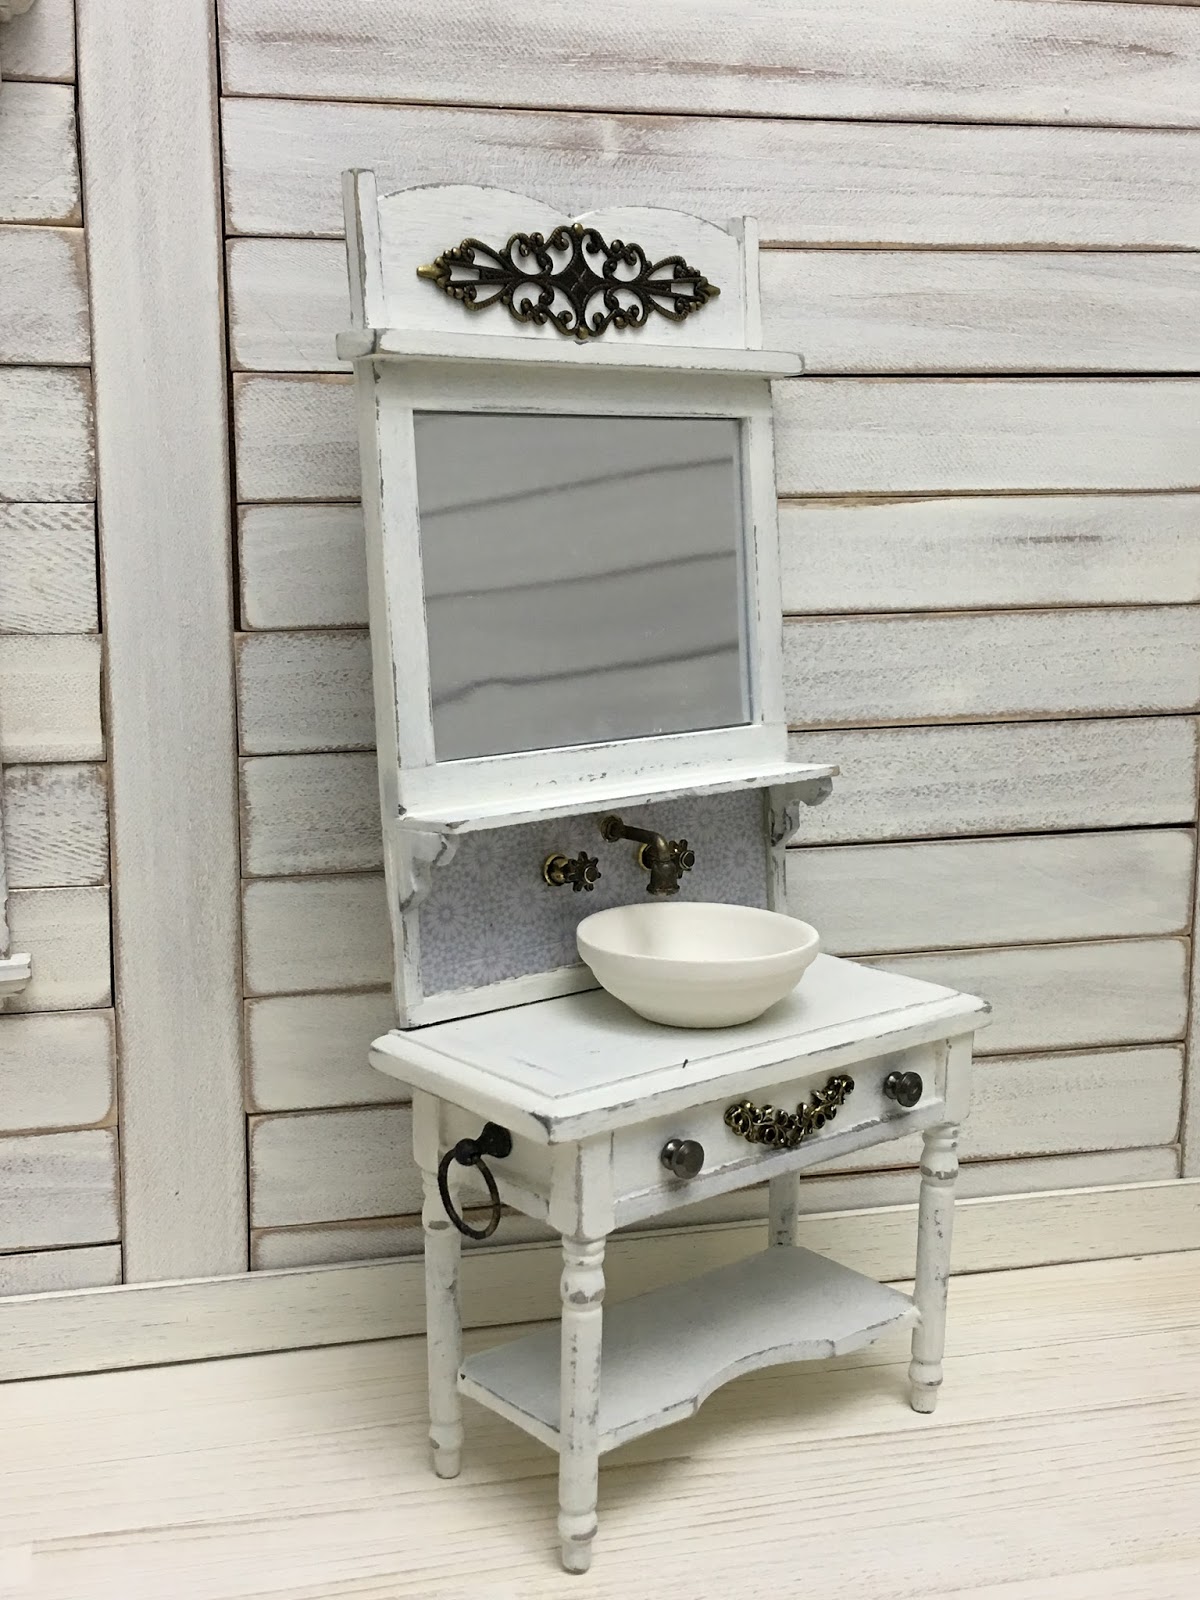
The inspiration sink appears to be constructed from thin metal, so I used 1/16" basswood. I cut the top and shelf using the life sized measurements scaled down to 1/12th. It is roughly 3" wide x 2" deep x 3" high (not including the back splash).

To cut the sink hole, I marked the center point between the sides, cheating the sink toward the front edge to leave plenty of space for taps (and bathroom-y stuff). Then I measured each of the sink halves out from the center point, top and bottom, then drew the circle around to connect them. You could also just trace the circle, but my sink will be under-slung and the sink is too large to just trace - the hole would have been too large. You could also just use a Circle Template, but that is one tool I don't have!
To cut the circle, I first traced the line with my flower making stylus, a tip I learned from the fabulous tutorials on Julie Warren's YouTube Channel. Then, my Xacto played nice and just stayed in the pre-grooved line.


I added an extra shelf, as Sam suggested that the more display space the better. And I agree! We both weren't quite sure about the back splash and shelf, and the 3" w x 2" d measurements would leave the bathroom space a little tight.


With adjusted measurements, 2-1/4" w x 1-1/2" d and still 3" h, I cut new pieces, this time using a large bisque bowl for the round sink and a homemade wooden square one.


And employed the same method for the legs with bead spacers and feet. To fit the lower shelves, I traced the 1/8" dowel onto the corners of the shelf pieces, then cut and sanded away until they had a nice fit.

Here are the smaller versions. Sam and I still need to consult about back splash, details and finish, but since she is on a fabulous three week ski vacation, these may sit like they are for a bit. Which is good because, there hasn't been a hint of good spray painting weather here in weeks!


I don't know what that groundhog is seeing, but I never trust that guy, or the weatherman anyway! :O)
Hope the sunshine finds you, wherever you are and whatever the temperature may be!
xo xo,
Jodi